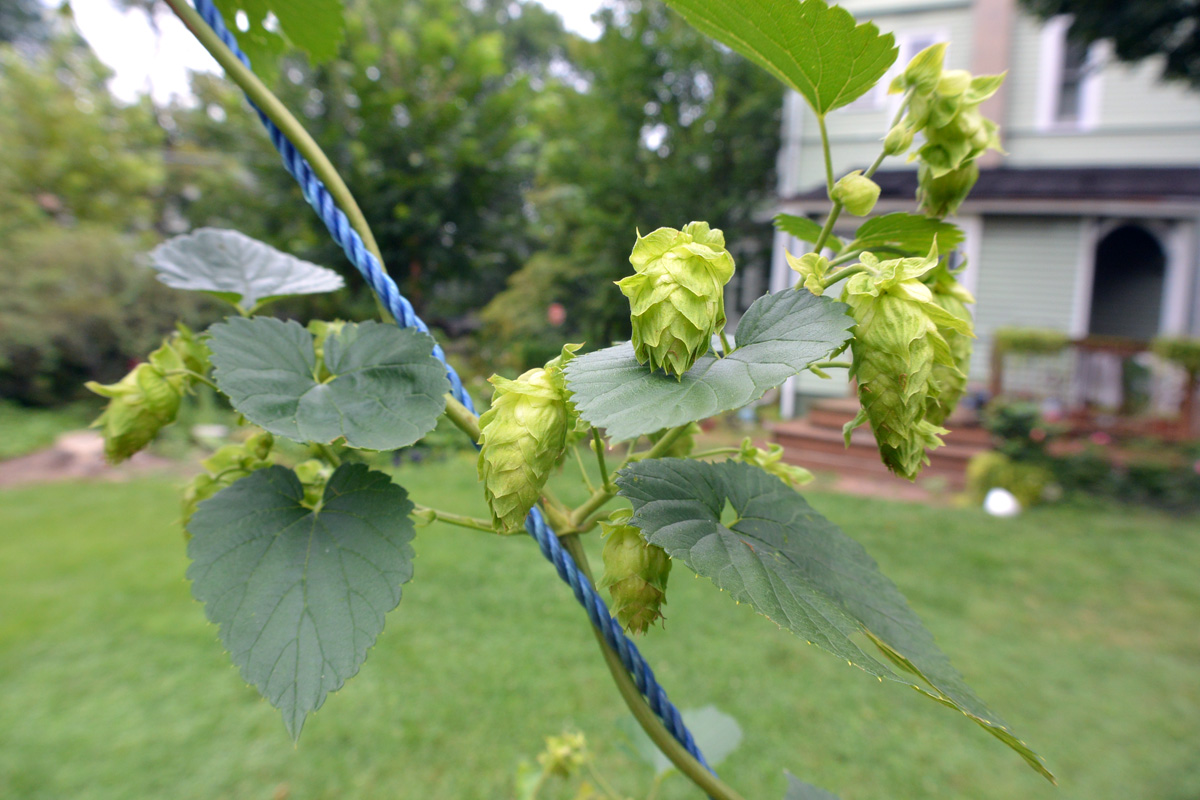
Hops Growing on the Vine
Three years ago I planted four hop vines in my backyard. I had no experience growing hops, and learned both from the information sent with the rhizome, which is a part of a root from a mature vine, and from reading books and online, that hops can grow fast. They can gain one to two feet in a day, during their active growing phase. It also seemed that conditions for growth needed to be just right, not to hot or cool, dry or wet, that southern exposure was ideal, they like slightly acidic soil, and a number of other points which left this first-time hop grower in a cloud. I set up a post in the yard with thick twine as a structure for the vines to grab as they marched on their way to full flower. As it turned out, three of my four hop plants died the first year, probably from unrelenting heat and lack of water. In spite of watering them daily, by evening the surrounding dirt would be dry, and the plants withered. One hardy vine held on, and made it to the next year. The next year, I had hopes that the plant would produce, but after a promising early start, it, again, withered, but this time after getting to be about six feet long.
This past summer the conditions were just right. That, combined with a more developed root system allowed my remaining hop vine, of the cascade variety, to move beyond the beginner vine stage and actually produce hops. When the first flowers appeared I got very excited, but didn’t want to count my hops yet. I didn’t have to water much, due to regular rain and humid conditions, which kept the vine growing and healthy. As the flowers turned to the cones which I would ultimately harvest, the thought of brewing a beer with my own backyard hops looked more and more promising.
The part of the hop cone which is of most importance to brewing is the lupulin gland, a tiny yellowish dot within the cone structure which contains the alpha-acids and oils which give beer both bitterness and hoppy aroma.
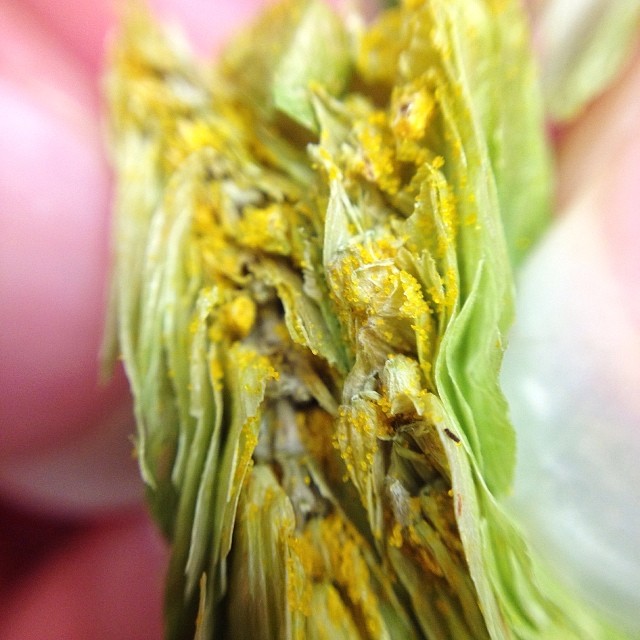
From Sierra Nevada Beer, a photo of a split Cascade hop cone and the lupulin glands within.
The first documentation of hops used to make beer was in 1079, although there is earlier documentation of hops being grown. Beer brewers discovered that hops had a preservative effect on the beer, and added pleasing flavors to contrast the sweetness of the barley malt. Naturally, when a good thing like this is found, it is taxed, and the history of hops used in beer makes for some interesting reading.
Once the hops had matured on the vine, it was time to harvest them. Again, this took some research to figure out when was the right moment to pluck them. If they are picked too early, the lupulin glands have not matured, and the aroma imparted will be more grassy than one would like. So I waited until the hops gave up their familiar scent when crushed, and had an orange/yellow tinge to the gland. Since I only had one vine, not a whole yard as numerous online demonstrations show, it was relatively simple to cut the hop cones from the vine with scissors. I collected them in a basket for drying.
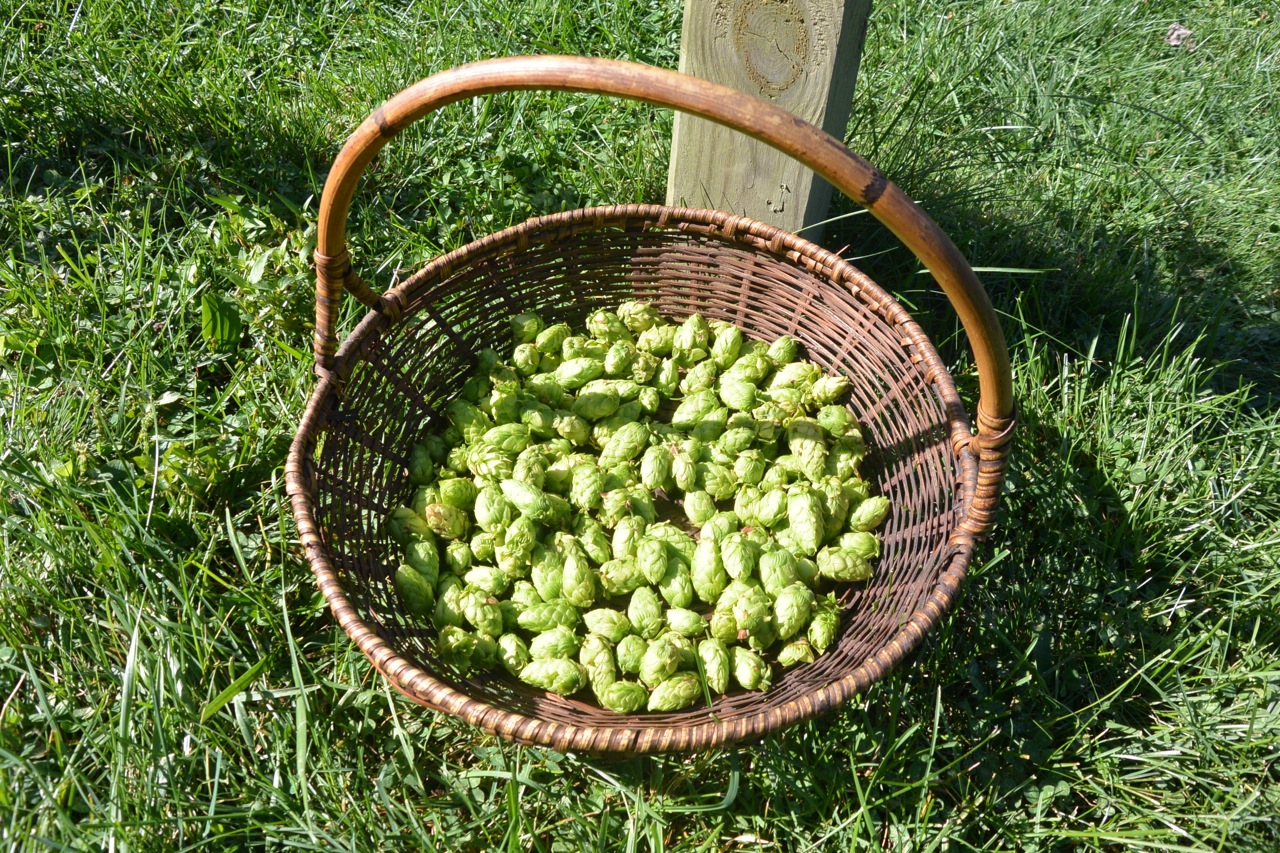
Hop cones cut from the vine and ready to dry.
Not having any special equipment to dry them, I just left them in the wicker basket and allowed the dry September air do the job.
When thinking about an appropriate recipe for beer made from these hops, I was planning a simple brew which would allow the hop aroma to come through, without competition from any complex flavors or spices. A friend who is well versed in beer making advised me to use my backyard hops for aroma, but use commercial hops for the bittering, as the home grown will not carry the bitterness very far.
This is the recipe I devised, a simple amber ale style:
Backyard Homebrew
Partial Mash:
American 2-row pale barley malt 4 lbs
Boil: Volume = 2.5 gal
Amber DME 3 lbs (DME=dried malt extract)
American Crystal 40L 0.5 lbs (a type of malt that adds caramel sweetness and color to the brew)
Honey 1 lb
Hops:
Cascade (commercial) 1 oz at 60 min
Cascade (homegrown) 1 oz at 5 min
Yeast: Wyeast 1056 (a versatile yeast used for amber, pale and other ales)
The partial mash was at 157 degrees F for one hour, and then sparged (rinsed) with another gallon of water at 160 degrees. The boil was one hour, with the commercial hops added at the beginning of the boil, and my backyard hops with five minutes to go. What looked to me like much more than an ounce of dried hops, when measured on a scale, came out to be just a bit over one ounce. So I used every hop I picked for aroma at the five minutes-to-go mark. Why the honey, you may ask? I originally planned to include both honey and molasses, my homage to runners, as this is the basis for home made energy gel, and works pretty well as a source of sugar for the beer. But at the last minute I decided to drop the molasses, because I did not want the final brew to be very dark in color, but I kept the honey to have enough sugar for the final alcohol content I was predicting, around 5.5%.
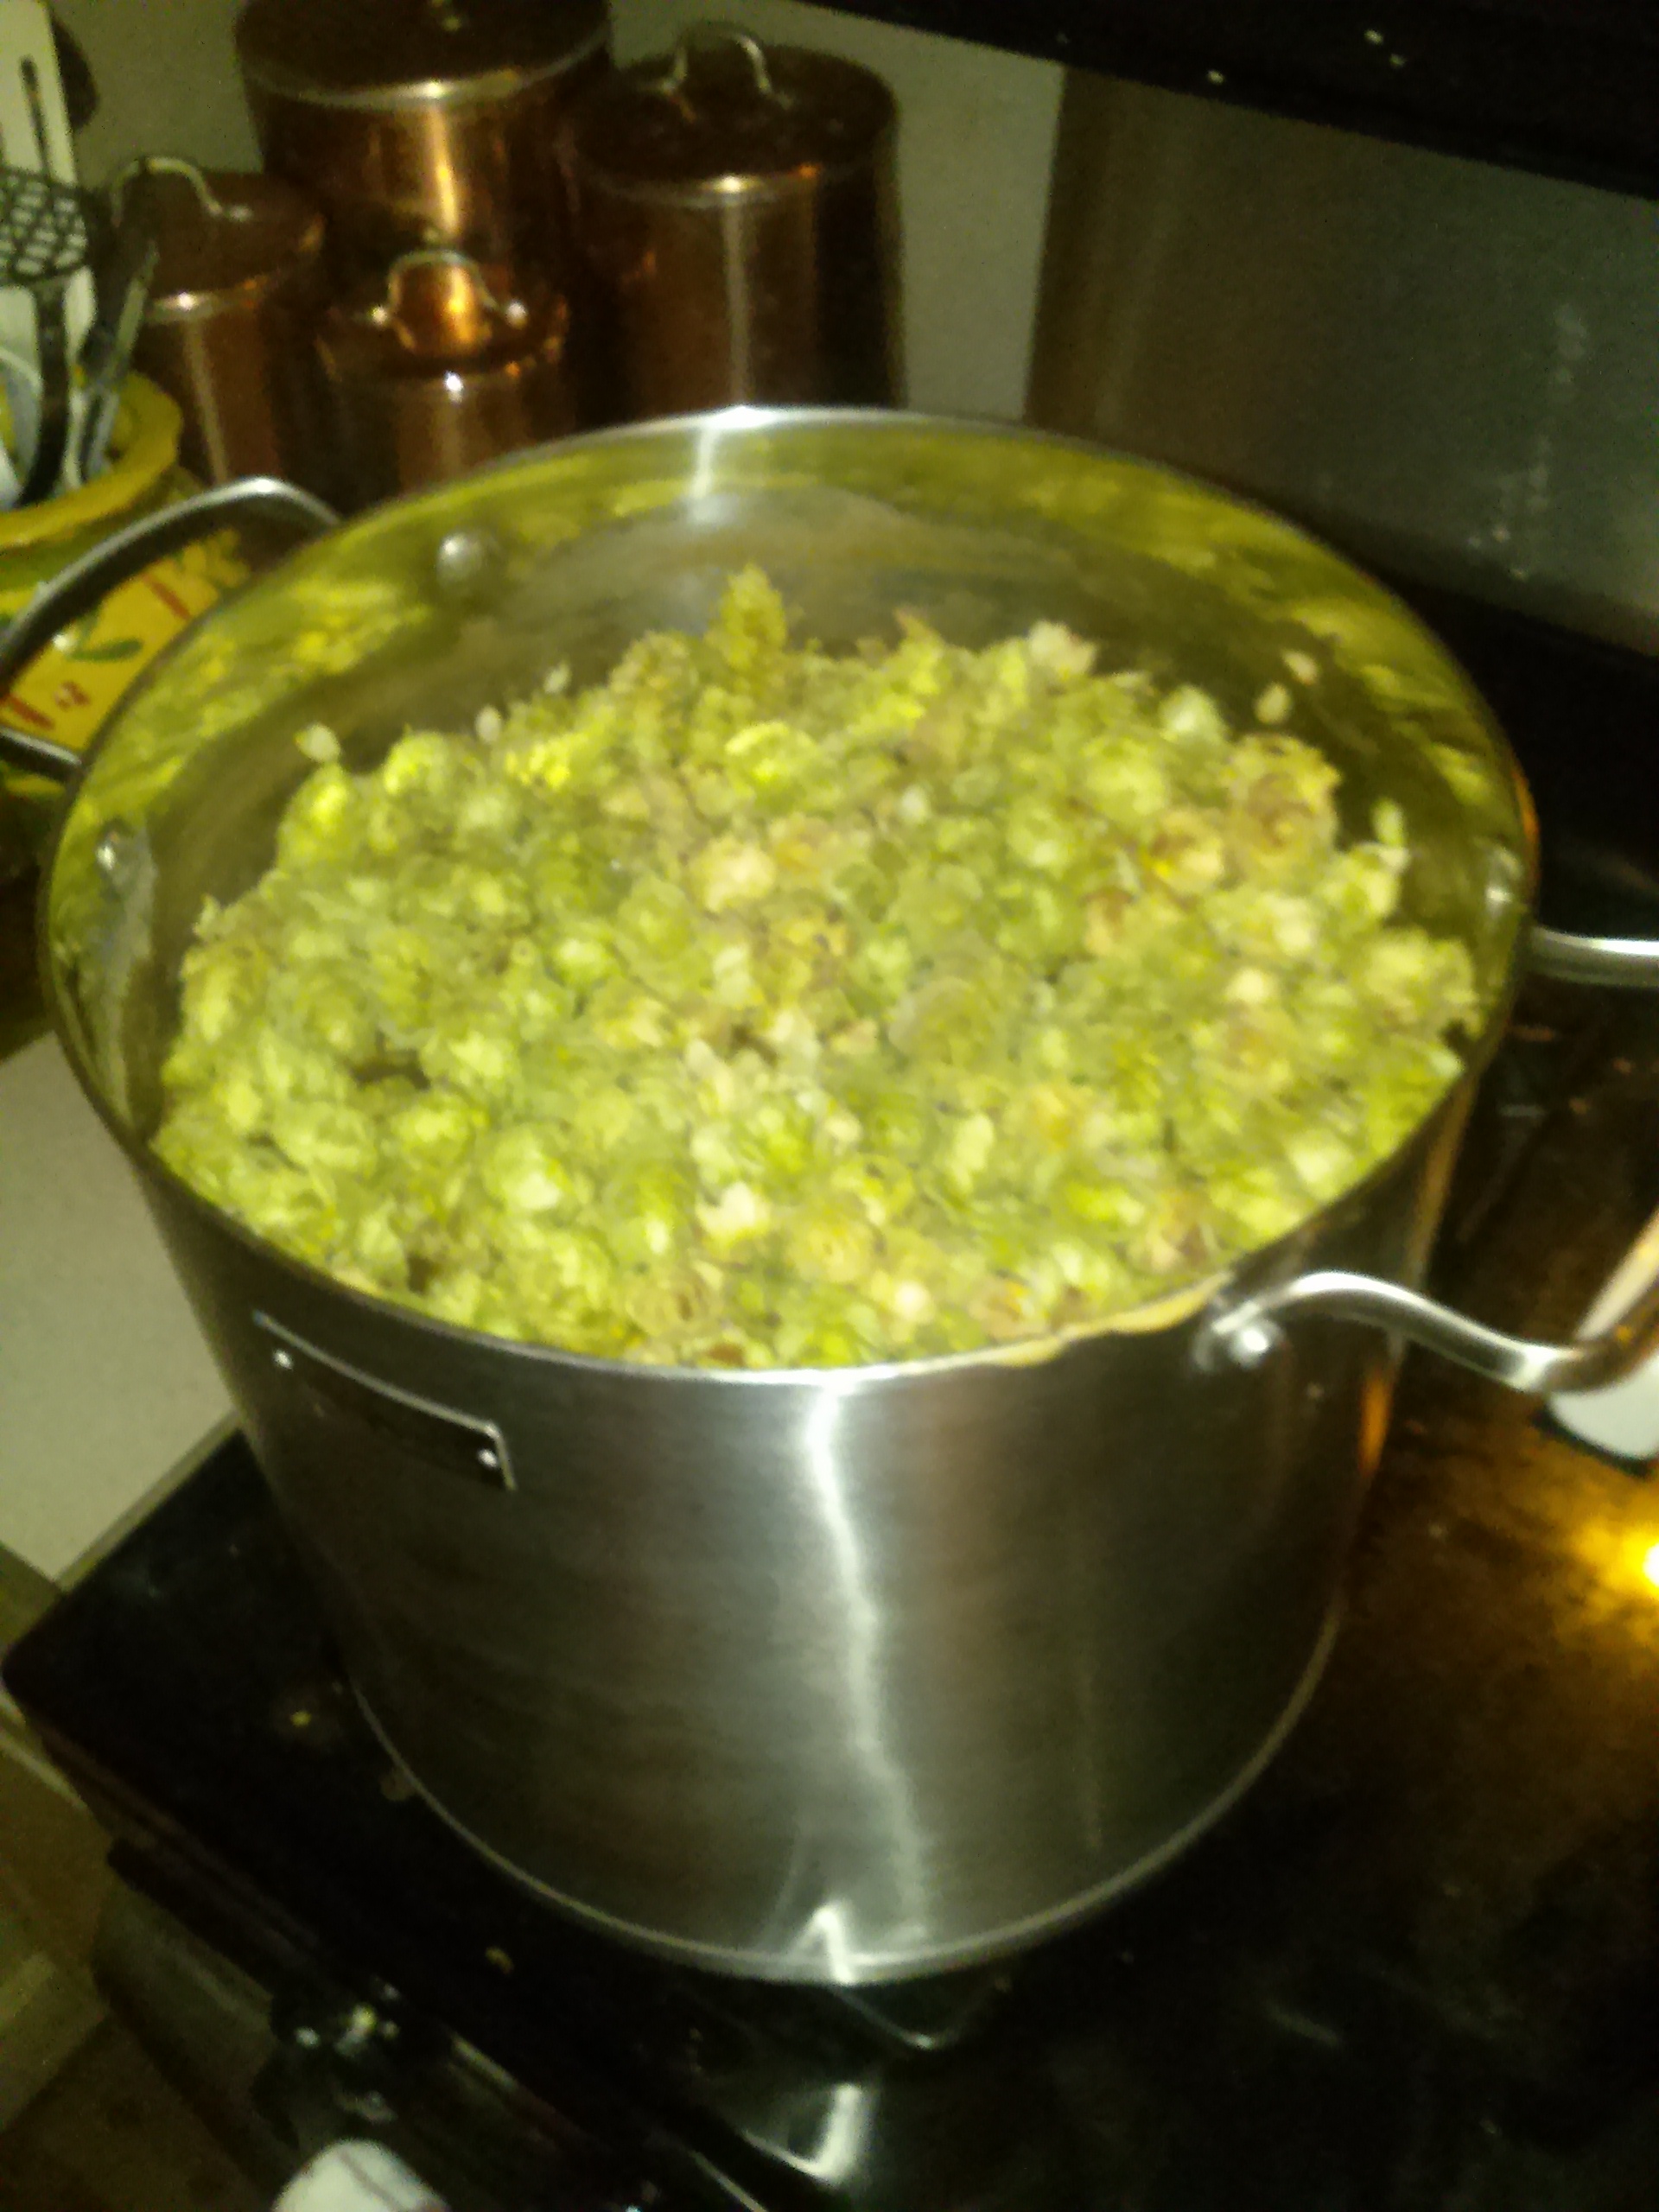
Homegrown hops added to the boil for the last five minutes.
After the boil, the cooling, and bringing the volume up to five gallons, the yeast was added and I set the carboy in it’s usual nook at the bottom of the back stairs to ferment. One little glitch that came up was that once the fermentation takes place, one expects to see bubbling through the air lock, indicating that the yeast are multiplying and metabolizing the sugars, making alcohol and CO2 in the process. Yet, no bubbles were merrily percolating through the air trap, as was supposed to happen. I knew the yeast was healthy, since the container it came in puffed up like a puffer fish once the little vial of nutrients inside it was cracked. I also knew there was plenty of substrate in the form of sugar for the yeast to work on. So, I let it ride, thinking there must be some leak of a seal around the top of the plastic carboy, and that fermentation was taking place. It turns out I was right. The way to check this is to measure the specific gravity of the wort at the start of fermentation and at the end. If the specific gravity drops appropriately, then fermentation has taken place. After two weeks in the fermenter, the specific gravity, which started at 1.050, had dropped to 1.006, confirming that fermentation happened. I then transferred the nascent brew into the secondary fermenter for another two weeks.
Bottling took place on December 1, 2013. I opted for 22 ounce bottles because I had sufficient clean ones to use, rather than 12 ounce ones. Bottling consists of adding a measured amount of sugar to the final brew before bottling so that bottle fermentation will provide the right amount of CO2 for carbonation. Beers served from a tap at a bar have CO2 added from compressed tanks. Commercial bottled beers in general have CO2 added from a nozzle during bottling, but bottled homebrew is allowed to carbonate naturally in the bottle. This means a small amount of residual yeast present in the bottle will use the added sugar to produce CO2. A small amount of alcohol is made in the process, but not enough to change the final alcohol content measurably. Some commercial beers are also pasteurized and filtered before bottling, so any live yeast are killed. As Johnny Fincioen from the Global Beer Network points out, the labels which say “born on….” on some commercial beers should really say “died on….” instead, since there is nothing living in these brews. Many craft brews and microbrews are allowed to “bottle condition” so that the CO2 is provided by living yeast in the bottle.
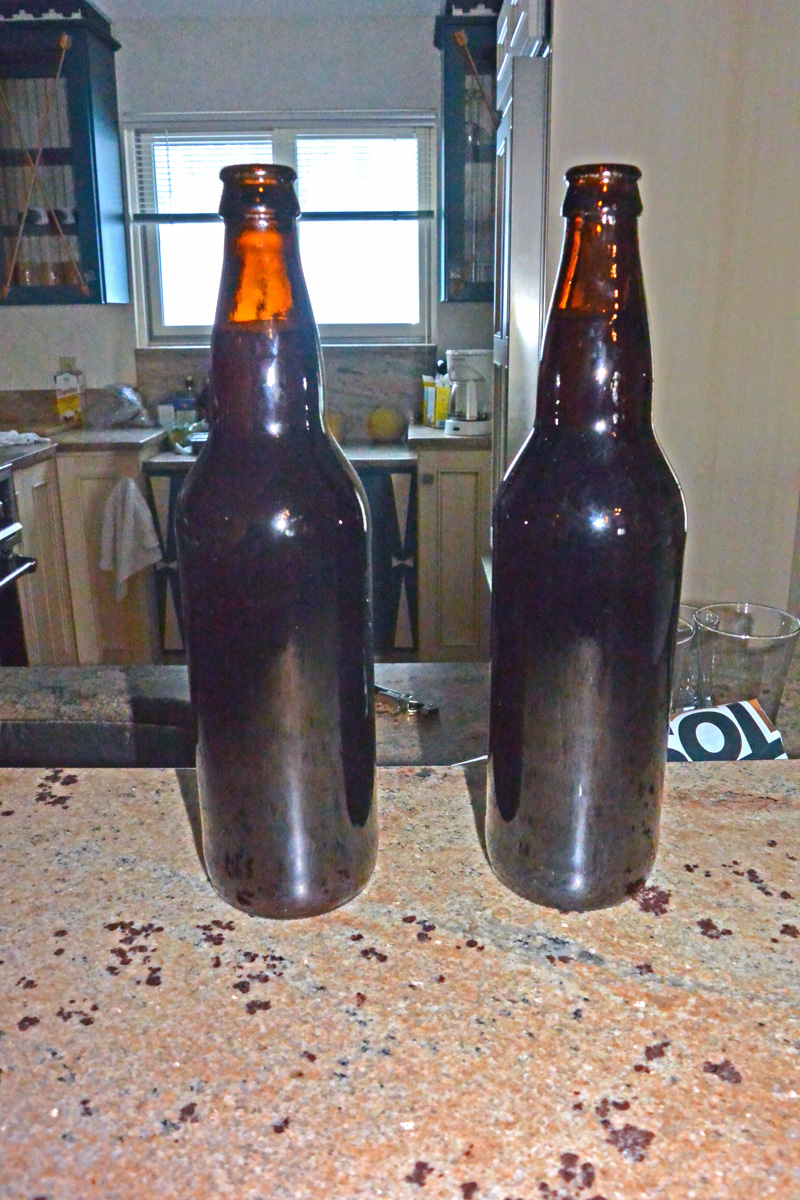
Two bottles of Backyard Homebrew, open and ready to pour.
Finally, to the tasting. While I may be a perfectly good judge of my own beer, and perhaps even a harsher critic than those around me, I turned to the completely unbiased views of my wife, two of my grown children, a good friend from Philadelphia, and a college friend from Boston to provide the judgement. To a person the reviews were very favorable. Comments included “wonderful aroma”, “very nice flavor”, and “I would definitely order this in a bar”. By my own assessment, the beer hit the right note. It is not complex, but has a very nice color, appropriate for an amber ale. The aroma of the backyard hops gives a subtle citrus quality to the head, and the flavor is great. It is not strong, like an IPA, or overpowering, just a pleasing, medium body, with a very slight sweetness of crystal malt. The final alcohol content was 5.8% ABV.

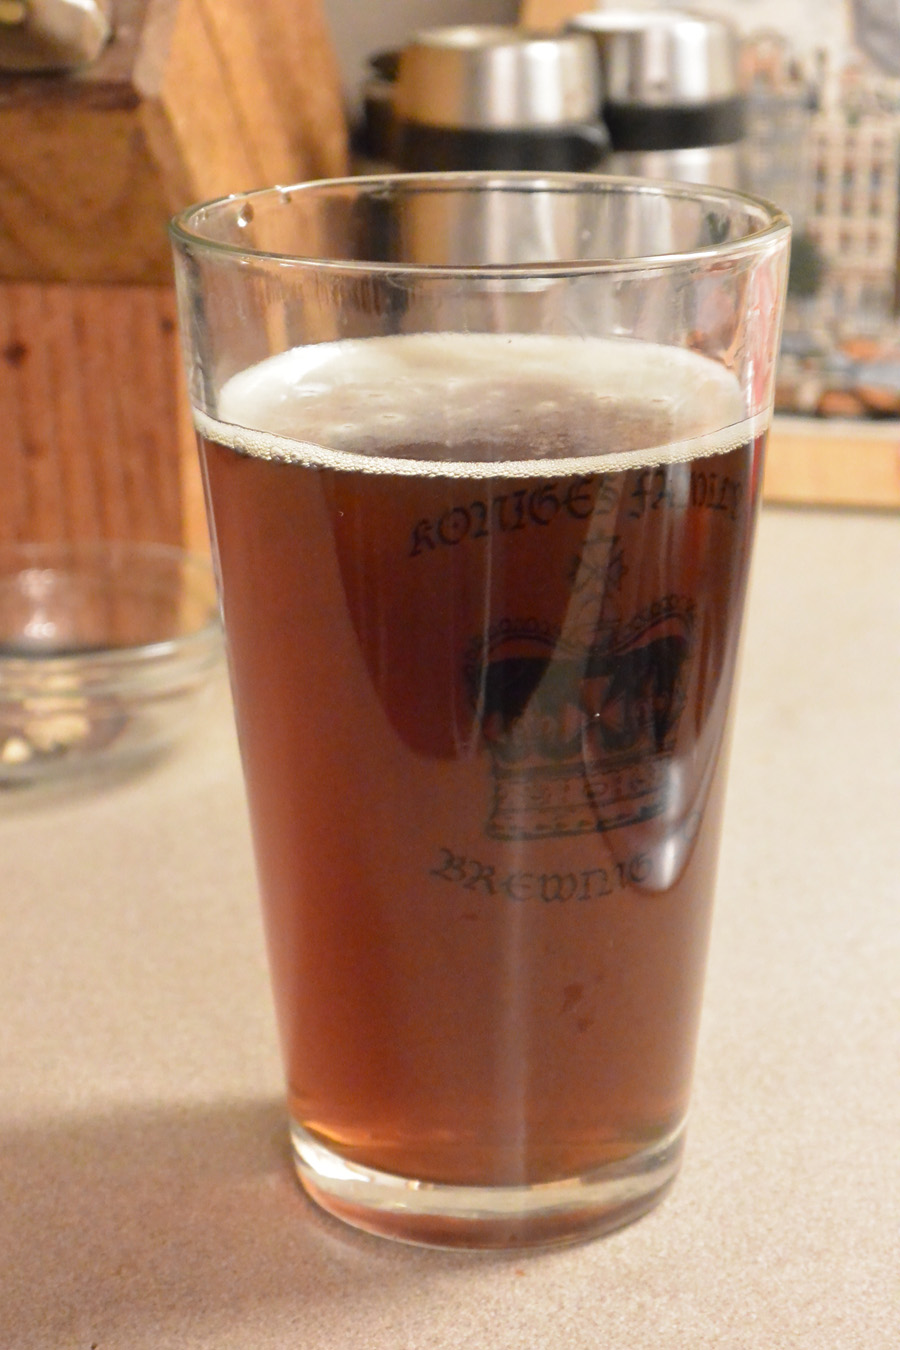
Frank’s Backyard Homebrew in the glass. Nice head, nice color, very enjoyable going down.
With this experience using my home-grown hops, I’ve been encouraged to do it again. I’d also like to see if I can get a few more hop vines to survive to be productive. I’ll be looking through the different types of hops available to see which ones might do best in the southern New Jersey environment. I think I’ll go open a bottle of Frank’s Backyard Homebrew, pour a glass, and do a little research.